So, you've ordered your solar panel system and you've got a date for the big install. Exciting stuff! But what actually happens when the engineers show up? What should you expect before, during, and after they climb up on your roof?
This blog is your step-by-step walkthrough of how a solar installation typically unfolds in the UK — so you’re not left in the dark.
🪜 Step 1: Scaffolding comes first
Even before the actual install day, one of the first things you’ll likely see is scaffolding being put up. This is usually done by a different company to give the solar engineers safe access to your roof. It might go up a day or two before the main install.
🛠 Pro tip: Make sure the scaffold doesn’t block access to your bins, garage or side passage if you need those — a quick word with the crew can save you hassle.
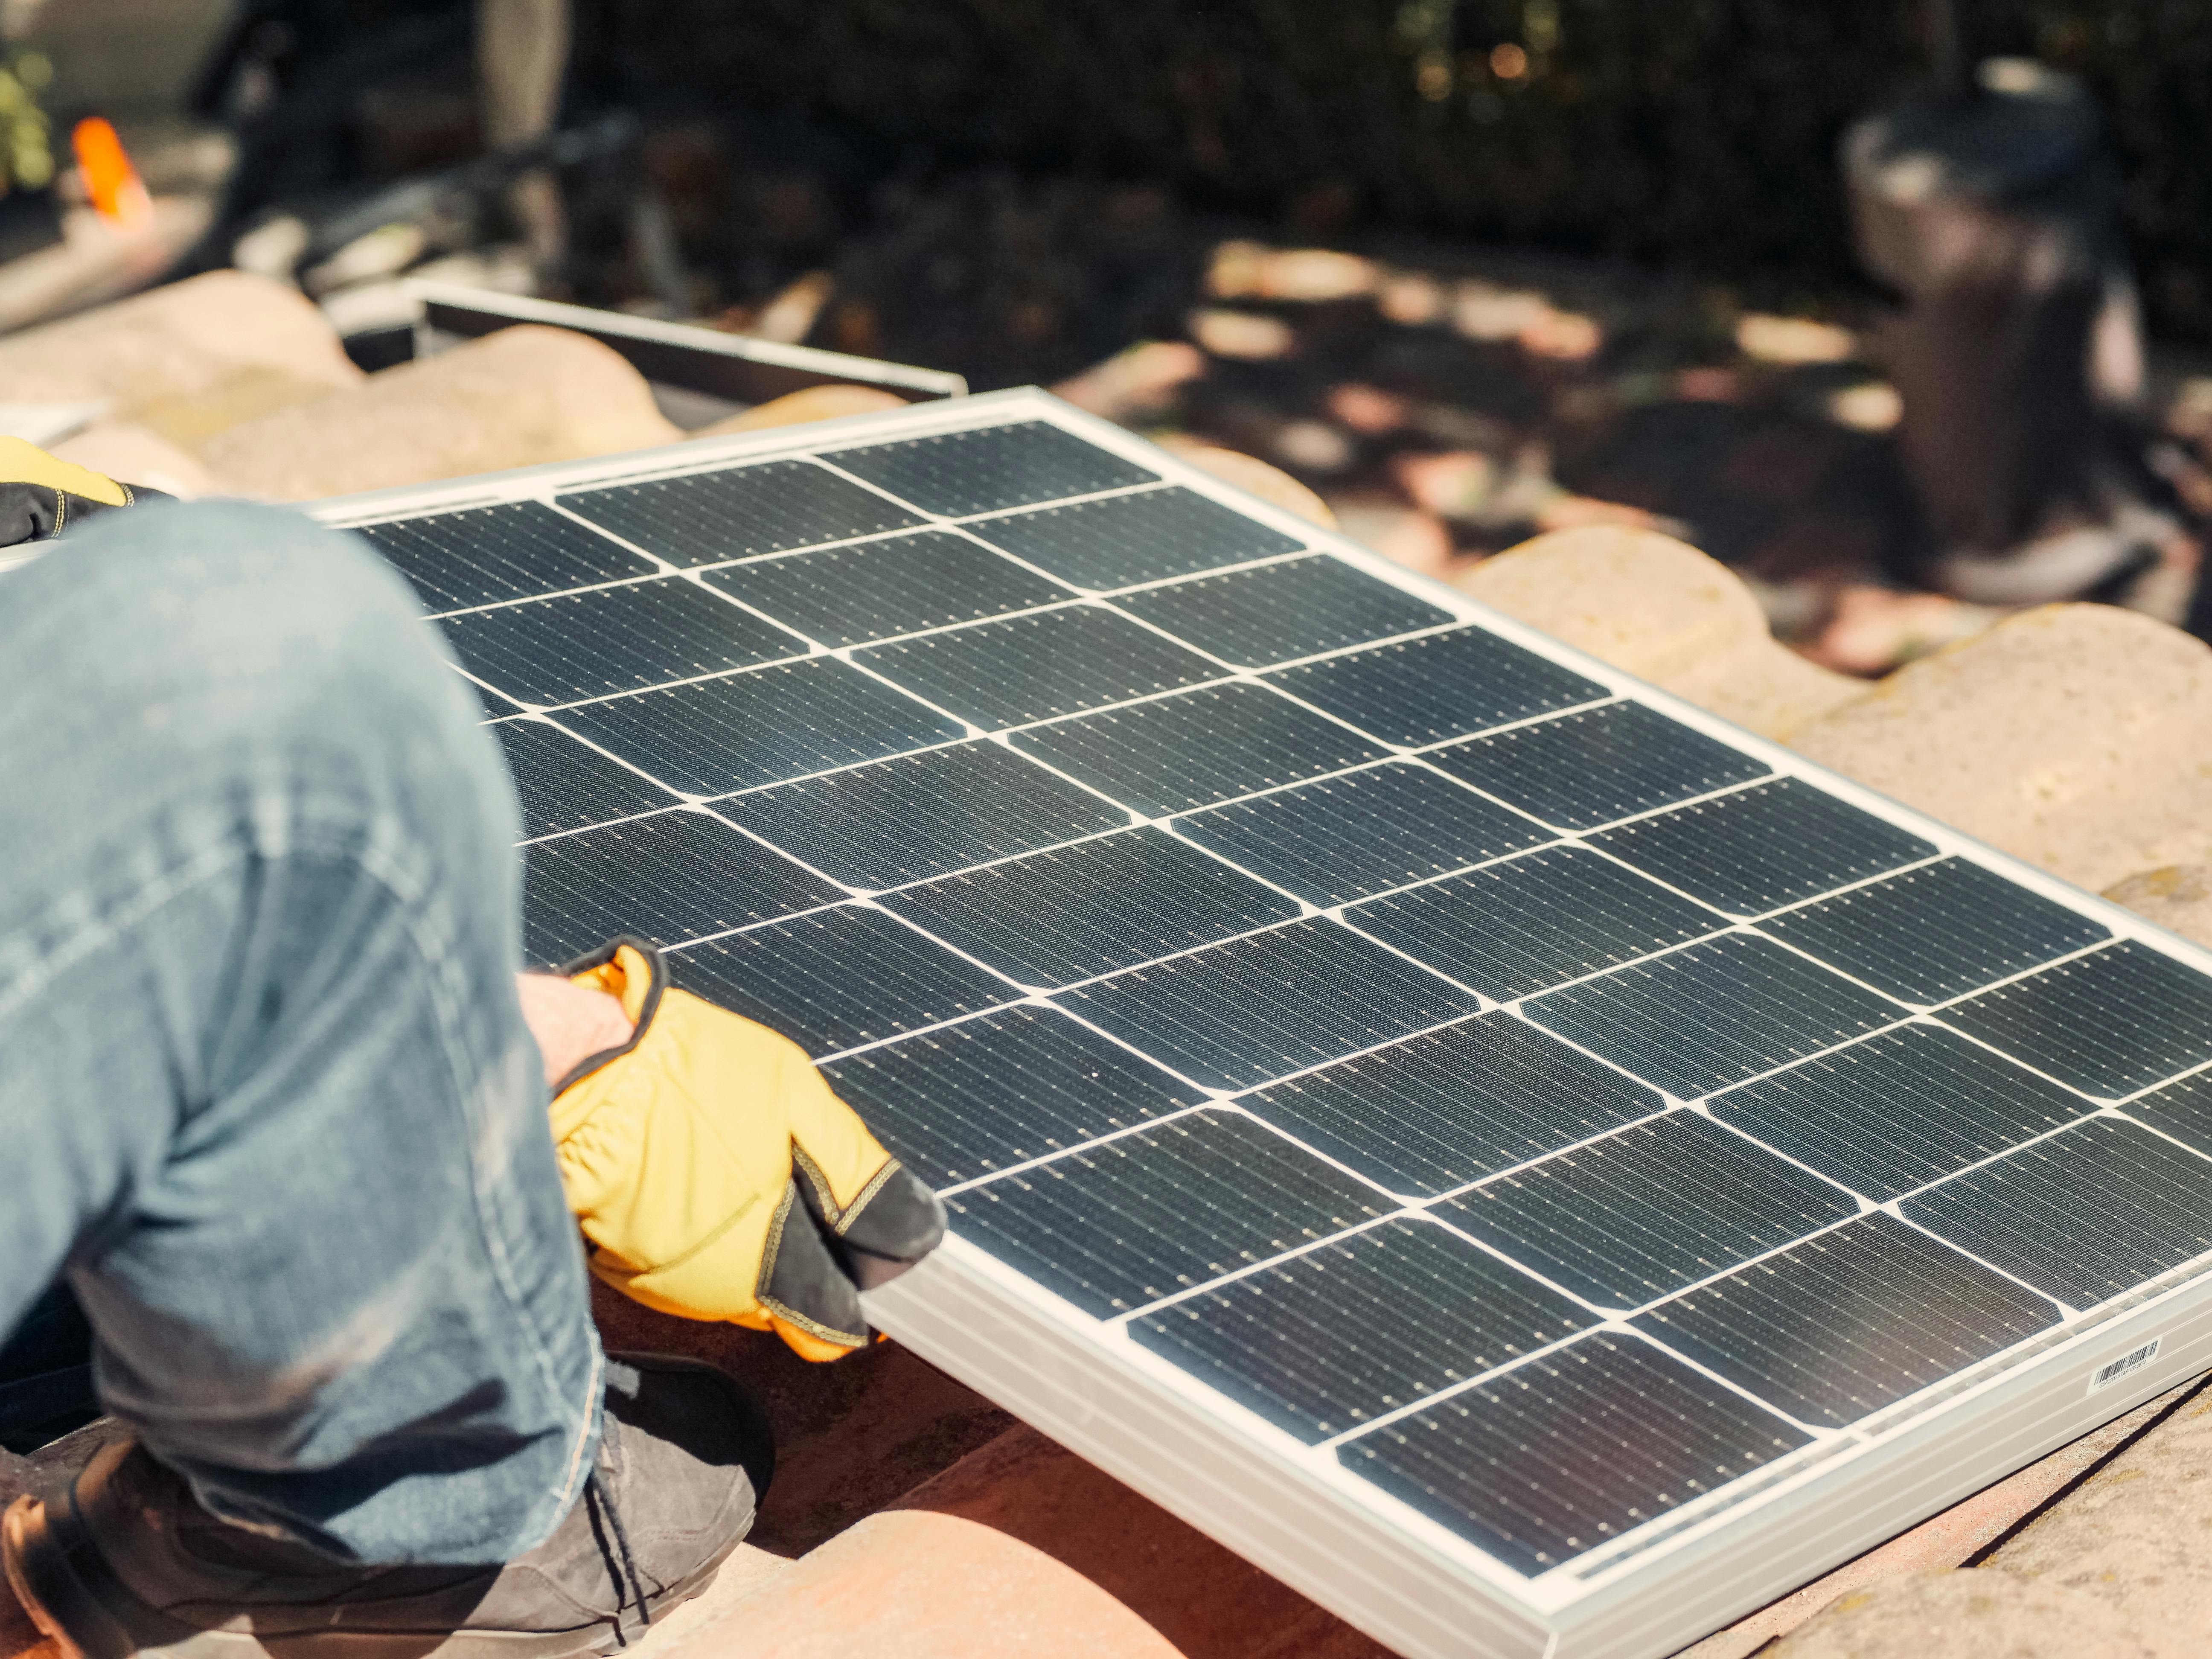
⚙️ Step 2: Roof brackets and solar panel mounting
On installation day, your engineers will start by securing brackets onto your roof. These are the solid bits that the solar panels themselves are mounted onto. Done properly, these brackets don’t damage your roof — and we always advise that they’re fixed to rafters (not just tiles) to avoid issues down the line.
✅ What to look for: Before the panels go up, ask the team to show you a photo of the brackets in place — this ensures everything’s fixed properly and gives you peace of mind about water ingress protection.
⚡ Step 3: Inverter and battery fitting
While the roof crew are handling the panels, another engineer will be inside fitting your inverter and battery system (if included). The inverter’s job is to turn solar energy into electricity your home can use, and if you’ve opted for battery storage, this is the bit that stores your excess energy.
📍 Common locations: Garage, utility room, or loft — but remember, batteries can’t go in the loft if it's too hot or doesn't meet fire access regs.
🔌 Step 4: Wiring, meter, and final connection
Once everything’s mounted and in place, the next job is connecting the system. That means:
- Linking your panels to the inverter
- Wiring up the battery (if installed)
- Installing a generation meter so you can track how much electricity your system is making
This is also when your car charger (if you’ve requested one) will be installed.
📄 What you’ll get from Solar Advice Bureau
We don’t just want you to get solar — we want you to understand it and get the best out of it.
That’s why we offer an exclusive Installation Checklist & Guide, which includes:
- A list of what a proper install should look like
- A printable handout to give your installer
- A space for your installer to upload photos of the bracket installation before the panels go on
This helps ensure your install is clean, safe, and compliant. It also gives you evidence of good workmanship in case anything goes wrong in future.
📨 Want the guide? Just contact us and we’ll email it over. It’s free and takes the guesswork out of installation day.
💬 Final thoughts
Installing solar panels is one of the best ways to take control of your energy costs and lower your carbon footprint — but only when it’s done right. Knowing what to expect (and what to ask for) means you’ll feel confident, informed, and in control.
As always, we’re here to help you make smart decisions every step of the way.
Need more help with your installation?
Reach out to us at Solar Advice Bureau — no pushy sales, just honest guidance from people who’ve been through it too.